The
World's Most Comprehensive HTML Tutorial Ever
2000
In this ever-increasingly online-dominant world, a great skill to have in your arsenal is website development. Why learn?
- - To advertise your company and sell products
- - To create stories, games, and articles
- - To expand your community
- - To share your creations with the world
If you're looking to learn that skill, you've come to the right place. We don't have time to waste, let's get started!
Steps
1 - Setup
2 - Beginning to Code
Step 1: Setup
Websites are mainly coded in the languages HTML & CSS. Let's start by downloading Visual Studio Code. VS Code is a program that runs code. VS Code supports all programming languages, but right now, we only need HTML & CSS (which should be available by default). Although VS Code doesn't let us preview the output for the code, we can install some extensions that allow us to do so. Also, VS Code is one of the most powerful, versatile, and used programming environments out there, so installing it now is very handy.
https://code.visualstudio.com/download
Head over to this link and hit the download button for the operating system you're using (Windows, Linux, or Mac.) If you're not sure what OS (Operating system) you are using, go ahead and hit the windows button. After that, wait until it finishes downloading and go ahead and open it up!
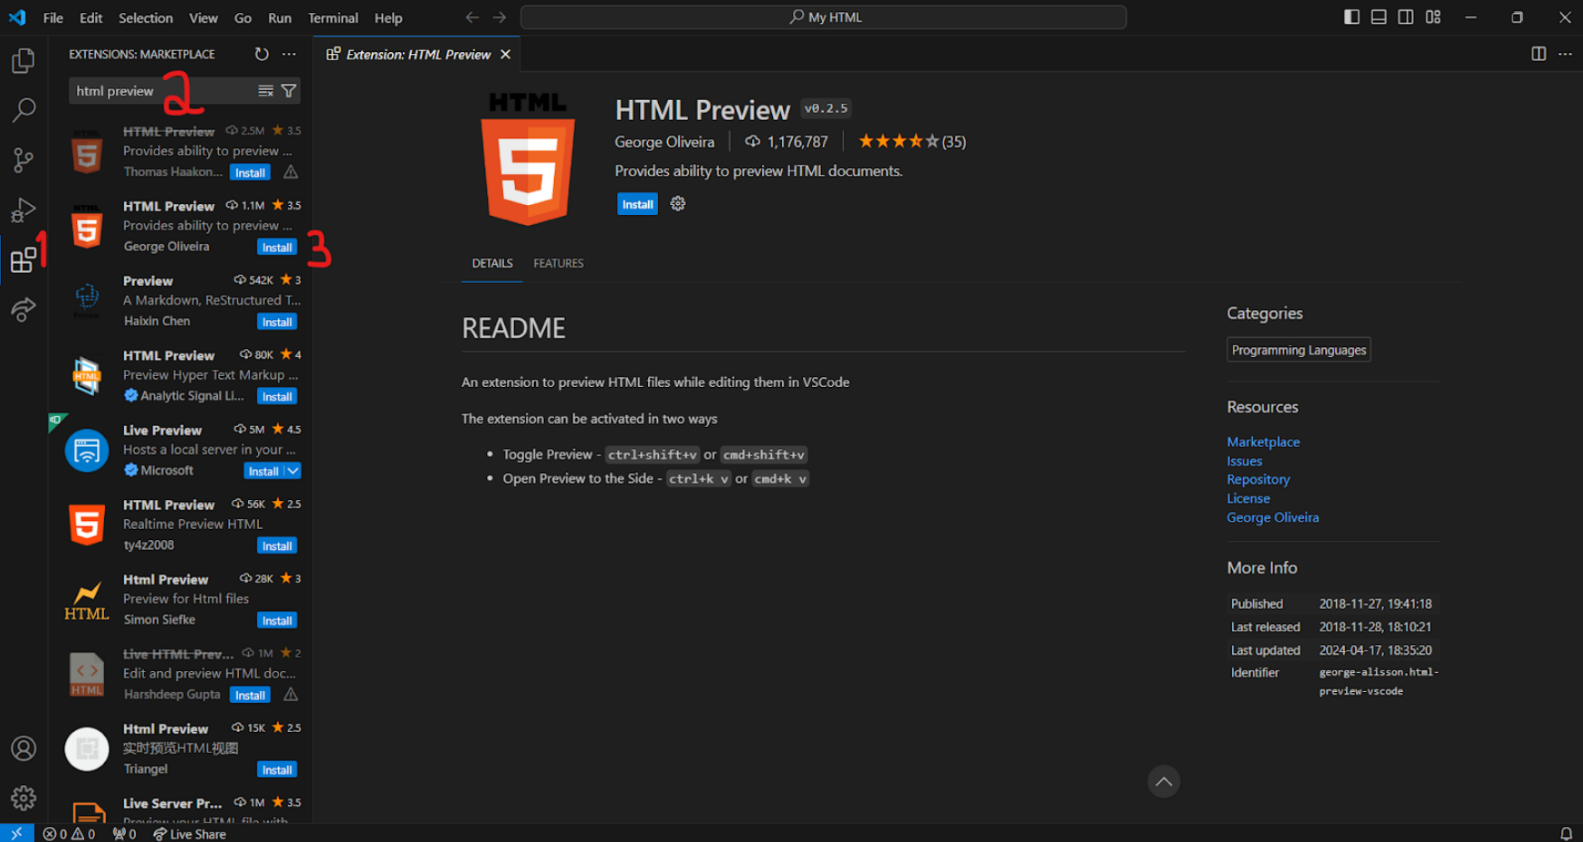
Next up, let's download those extensions that allow us to preview HTML. Open up VS Code and navigate to the Extensions button on the left (it looks like 4 squares with one flying away). In the search bar, type "html preview" and install the one by George Oliveira by pressing the small blue button. You may have to restart.
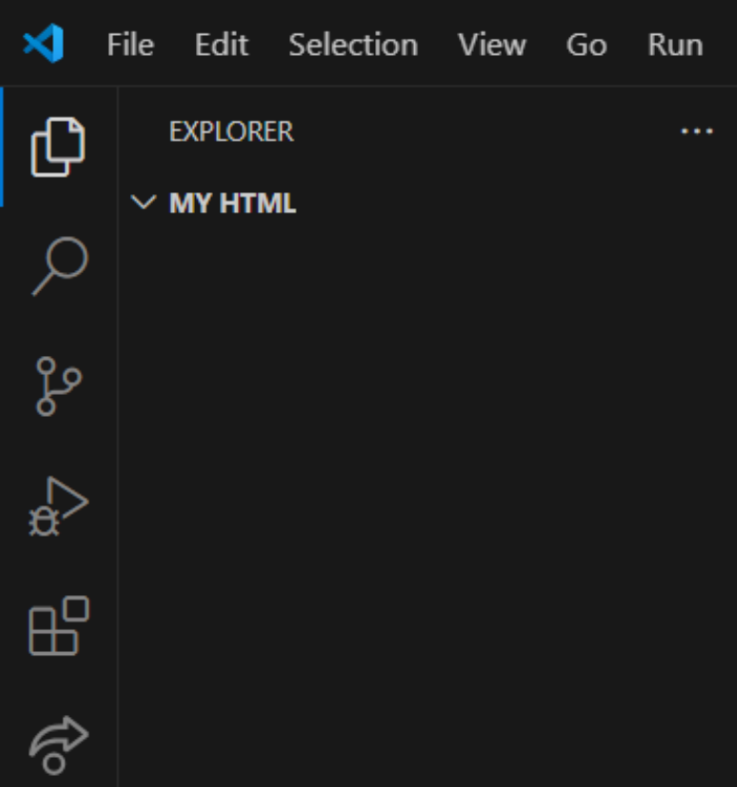
Before we begin, let's create a folder to house this HTML. This is optional, and you could create more than one folder. But if you choose to do so, create the folder (name it whatever you want,) and return to VS Code. Click on the "File" button on the top left corner and select "Open Folder". Navigate to the folder you just created and hit select. Press the Explorer button on the left (two pieces of paper) and you should be greeted with this:
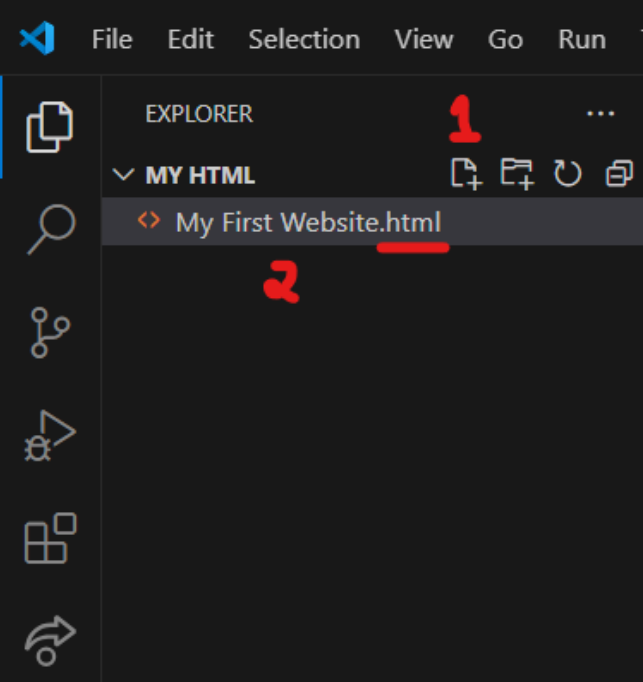
My folder says “MY HTML,” but your folder should be called whatever you named it.
So, now that you have a folder, you'll want to create a file in the folder. Hover over your folder and you should see 4 options. Select the one that says "New File". Name it whatever you want, but end the name with the extension ".html". For example, I have named mine "My First Website.html" but you can name yours anything as long as it ends with .html.
(If you plan to host your website in the future, make sure the main page is called "index.html", however you don't need to do that for now.)
Click on the file and you should see a blank document with the first line labeled '1'. On the top right, you should see a button with a magnifying glass. Click that to activate the preview. It should adjust in real-time but remember to always save using Ctrl + S. Double-click the file in your file manager to view it in your real browser if you want to view it in its actual form.
Alright, the setup's ready, let's put some lines in the program!
Step 2: Beginning to Code
Always start your websites with a DOCTYPE declaration. Basically, type <!DOCTYPE html>. Capitalization doesn't matter, but keep the angled brackets and the exclamation mark. This tells the browser that it's dealing with real HTML.
Next, we need some space to put our code in. Type <html> in a new line to begin. VS Code may automatically add </html> after <html>. This is a very important rule: If a tag (<>) contains information after it, it should be capped at the end with an ending tag (</>). Put some enters between the two <html> tags to give yourself space. Two tags together are called an element, which are the basic building blocks of HTML!
(Here's a handy dandy tip: VS Code automatically adds ending tags to any tags you type in!)
Now, the website can be divided further into a <head> and a <body>. Everything inside the <head> is behind the scenes; people on your website can't see it. But everything you want people to see should be in the <body>. Let's see if you can do this yourself: place a <head> element and a <body> element below that, inbetween the two <html> tags. They should be separate elements, but both inside the <html> tags. Remember to use ending tags too!
Did you do it? If you didn't, this is what you should have done:
<!DOCTYPE html>
<html>
    <head>

    </head>
    <body>

    </body>
</html>
You've finished! Please provide feedback on this site. Is the font too small? Is it too plain? Is it hard to see what's going on? Thanks!